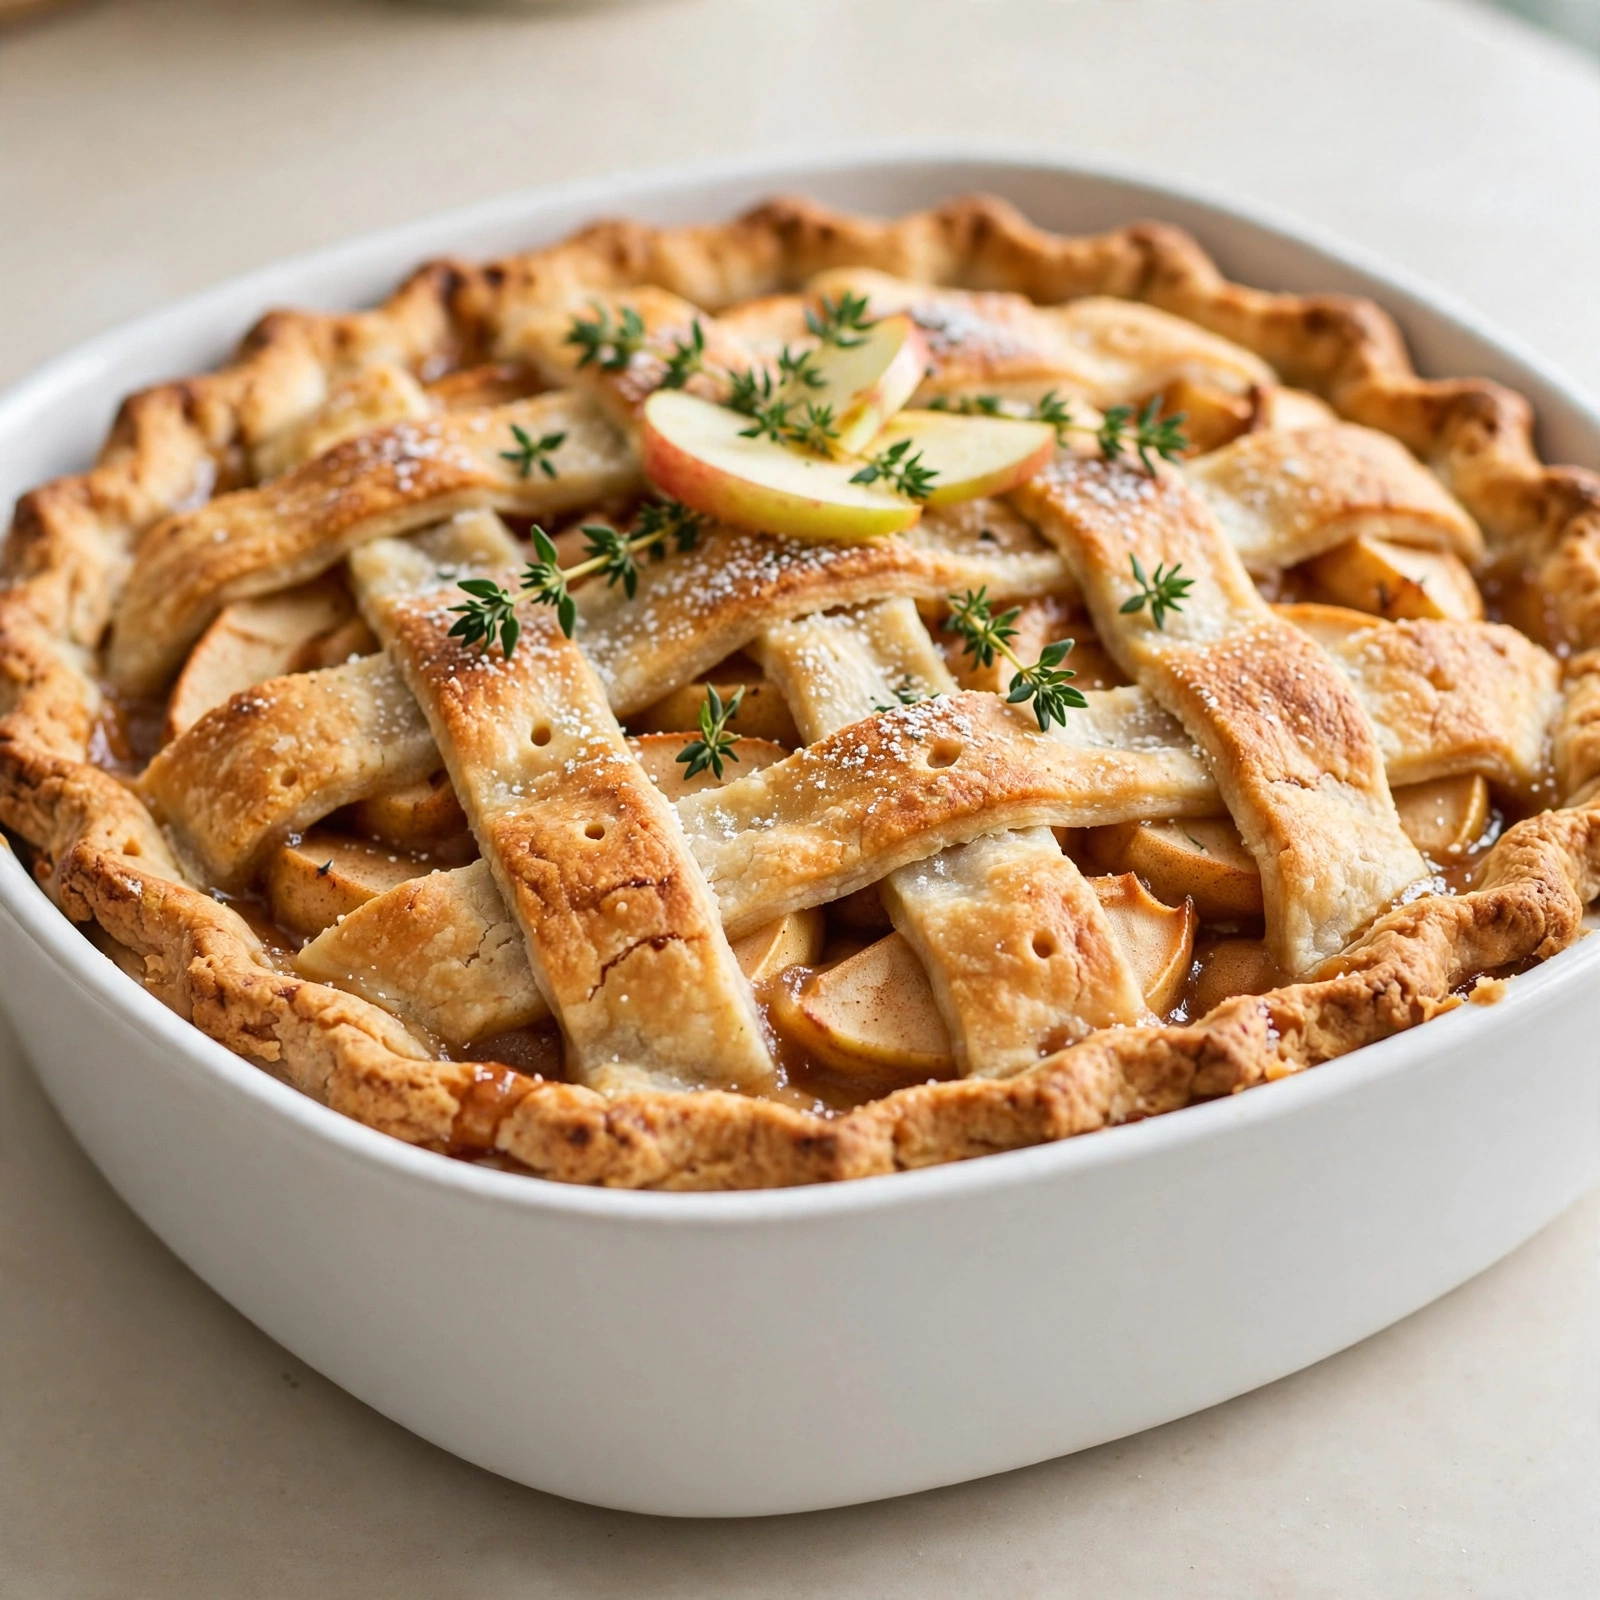
Classic Homemade Apple Pie
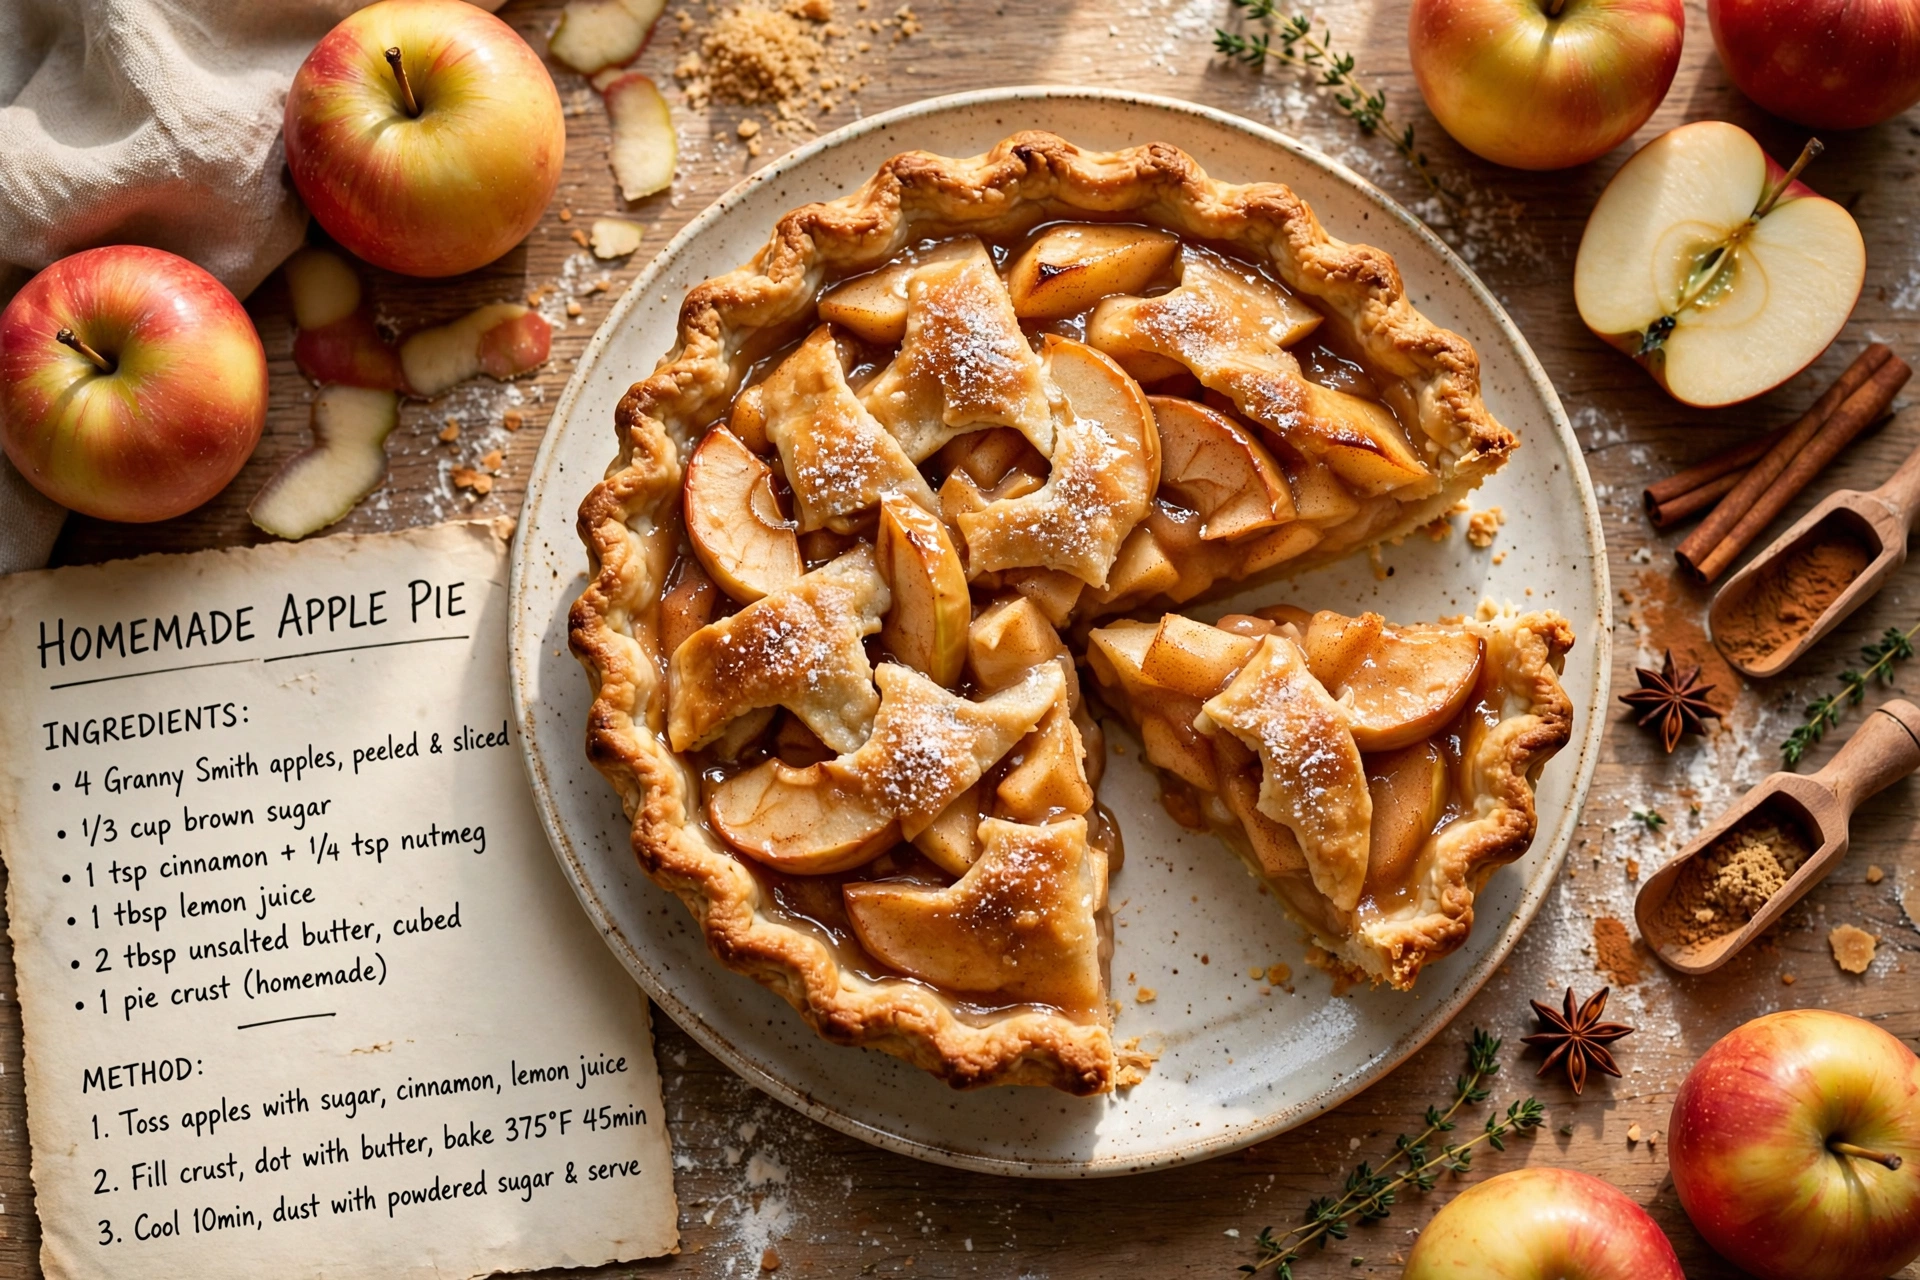
This easy homemade apple pie features a flaky, buttery crust and a warmly spiced fresh apple filling. It's the perfectly simple apple pie recipe you'll want to make again and again.

The Coziest Homemade Apple Pie You'll Ever Bake
There is nothing quite like the smell of a fresh apple pie recipe filling your kitchen with cinnamon and warm baked apples. This classic apple pie recipe easy enough for a weeknight but impressive enough for Thanksgiving strikes that perfect balance between a flaky, buttery crust and a juicy, spiced filling. If you've been searching for a simple apple pie recipe that actually delivers bakery quality results at home, this is the one to bookmark.
What makes this perfectly simple apple pie so reliable is the technique. We're not reinventing the wheel here, we're just doing the classic version right: cold butter, a gentle hand with the dough, and a mix of tart and sweet apples for a filling with real depth of flavor.
Before we get cooking, the right tools and ingredients make a real difference here. A good pastry cutter keeps your butter cold and evenly distributed for maximum flakiness, a sturdy glass pie dish helps the bottom crust bake through instead of turning soggy, and a reliable oven thermometer ensures your pie bakes evenly from edge to center. These are the products that genuinely help this recipe shine:
Choosing the Best Apples for Your Filling
The secret to a truly fresh apple pie recipe easy enough to nail on the first try starts with your apples. I like a blend of Granny Smith for tartness and structure and Honeycrisp for natural sweetness and juiciness. This combination keeps the filling from turning to mush while still tasting rich and full bodied once baked.
Chef's Tip: Slice your apples to a consistent thickness, about 1/4 inch, so they cook evenly and you avoid any raw, crunchy bites in the finished pie.
If you only have one type of apple on hand, that's okay too. Braeburn, Jonagold, and Pink Lady all work beautifully in this homemade apple pie filling recipe.
Building the Perfect Flaky Crust
A great crust is really about temperature control. Cold butter creates little pockets of steam as it bakes, which is what gives you those beautiful flaky layers. Work quickly, and if your kitchen is warm, pop the dough back in the fridge for a few minutes whenever it starts to feel soft or sticky.
Here's what tends to trip people up:
- Overworking the dough leads to a tough, dense crust instead of a tender one.
- Skipping the chill time makes the dough hard to roll and prone to shrinking in the oven.
- Too much flour while rolling can dry out the dough, so brush off any excess before fitting it into the pan.
Chef's Tip: If your dough cracks while rolling, just pinch it back together with your fingers. A few imperfections never hurt a good homemade pie.
Getting That Filling Just Right
This homemade apple pie filling recipe leans on a mix of granulated and brown sugar for depth, warm cinnamon and nutmeg for spice, and a touch of cornstarch to thicken the juices as they bubble in the oven. Tossing the apples in lemon juice first not only brightens the flavor but also keeps them from browning while you finish the crust.
Ready to make it? Here is the full step by step recipe:
Classic Homemade Apple Pie
This easy homemade apple pie features a flaky, buttery crust and a warmly spiced fresh apple filling. It's the perfectly simple apple pie recipe you'll want to make again and again.
Ingredients
- 2 1/2 cups all-purpose flour, plus more for rolling
- 1 tbsp granulated sugar, for the crust
- 1 tsp salt, divided
- 1 cup unsalted butter, cold, cubed
- 1/2 cup ice water, plus more as needed
- 7 apples, peeled, cored, and sliced; mix of Granny Smith and Honeycrisp
- 1 tbsp lemon juice, freshly squeezed
- 1/2 cup granulated sugar, for the filling
- 1/4 cup brown sugar, packed
- 1 tsp ground cinnamon
- 1/4 tsp ground nutmeg, freshly grated if possible
- 3 tbsp cornstarch, to thicken the filling
- 1 egg, beaten, for egg wash
- 1 tbsp coarse sugar, optional, for topping
Instruction
In a large bowl, whisk together the flour, 1 tablespoon sugar, and 1/2 teaspoon salt. Add the cold cubed butter and cut it in using a pastry cutter or your fingers until the mixture resembles coarse crumbs with pea sized bits of butter.
Drizzle in the ice water, 1 tablespoon at a time, mixing gently until the dough just comes together. Divide in half, shape into two discs, wrap in plastic, and refrigerate for at least 1 hour.
Preheat the oven to 375 degrees F (190 degrees C). In a large bowl, toss the sliced apples with lemon juice, granulated sugar, brown sugar, cinnamon, nutmeg, remaining 1/2 teaspoon salt, and cornstarch until evenly coated.
On a lightly floured surface, roll out one dough disc into a 12 inch circle and fit it into a 9 inch pie dish. Trim the excess overhang to about 1 inch.
Pour the apple filling into the crust, mounding it slightly in the center. Dot with a few small pieces of butter if desired.
Roll out the second dough disc and place it over the filling, or cut into strips for a lattice top. Trim, fold, and crimp the edges to seal.
Brush the top crust with the beaten egg and sprinkle with coarse sugar. Cut a few slits in the top to vent steam if using a full crust.
Place the pie on a baking sheet to catch drips and bake for 50 to 60 minutes, until the crust is deep golden brown and the filling is bubbling.
If the edges brown too quickly, cover them loosely with foil halfway through baking.
Cool on a wire rack for at least 3 hours before slicing to let the filling set.
Equipment
- 9 inch pie dish
- Pastry cutter or fork
- Rolling pin
- Large mixing bowl
- Baking sheet
- Wire cooling rack
Notes
Serving, Storing, and Make Ahead Tips
Let your pie cool for a full three hours before slicing. I know it's tempting to dig in right away, but this resting time lets the filling set so your slices hold together instead of sliding apart on the plate.
This apple pie is wonderful served slightly warm with a scoop of vanilla ice cream or a dollop of fresh whipped cream. Leftovers keep beautifully at room temperature for a couple of days, loosely covered, or in the fridge for up to five.
If you want to get ahead of the game, you can freeze the assembled, unbaked pie for up to three months. Just bake it straight from frozen, adding an extra 20 to 25 minutes to the bake time and tenting the edges with foil to prevent over browning.
However you slice it, this really is how to make a apple pie the way it's meant to be made: golden, fragrant, and just a little bit imperfect in all the best ways.