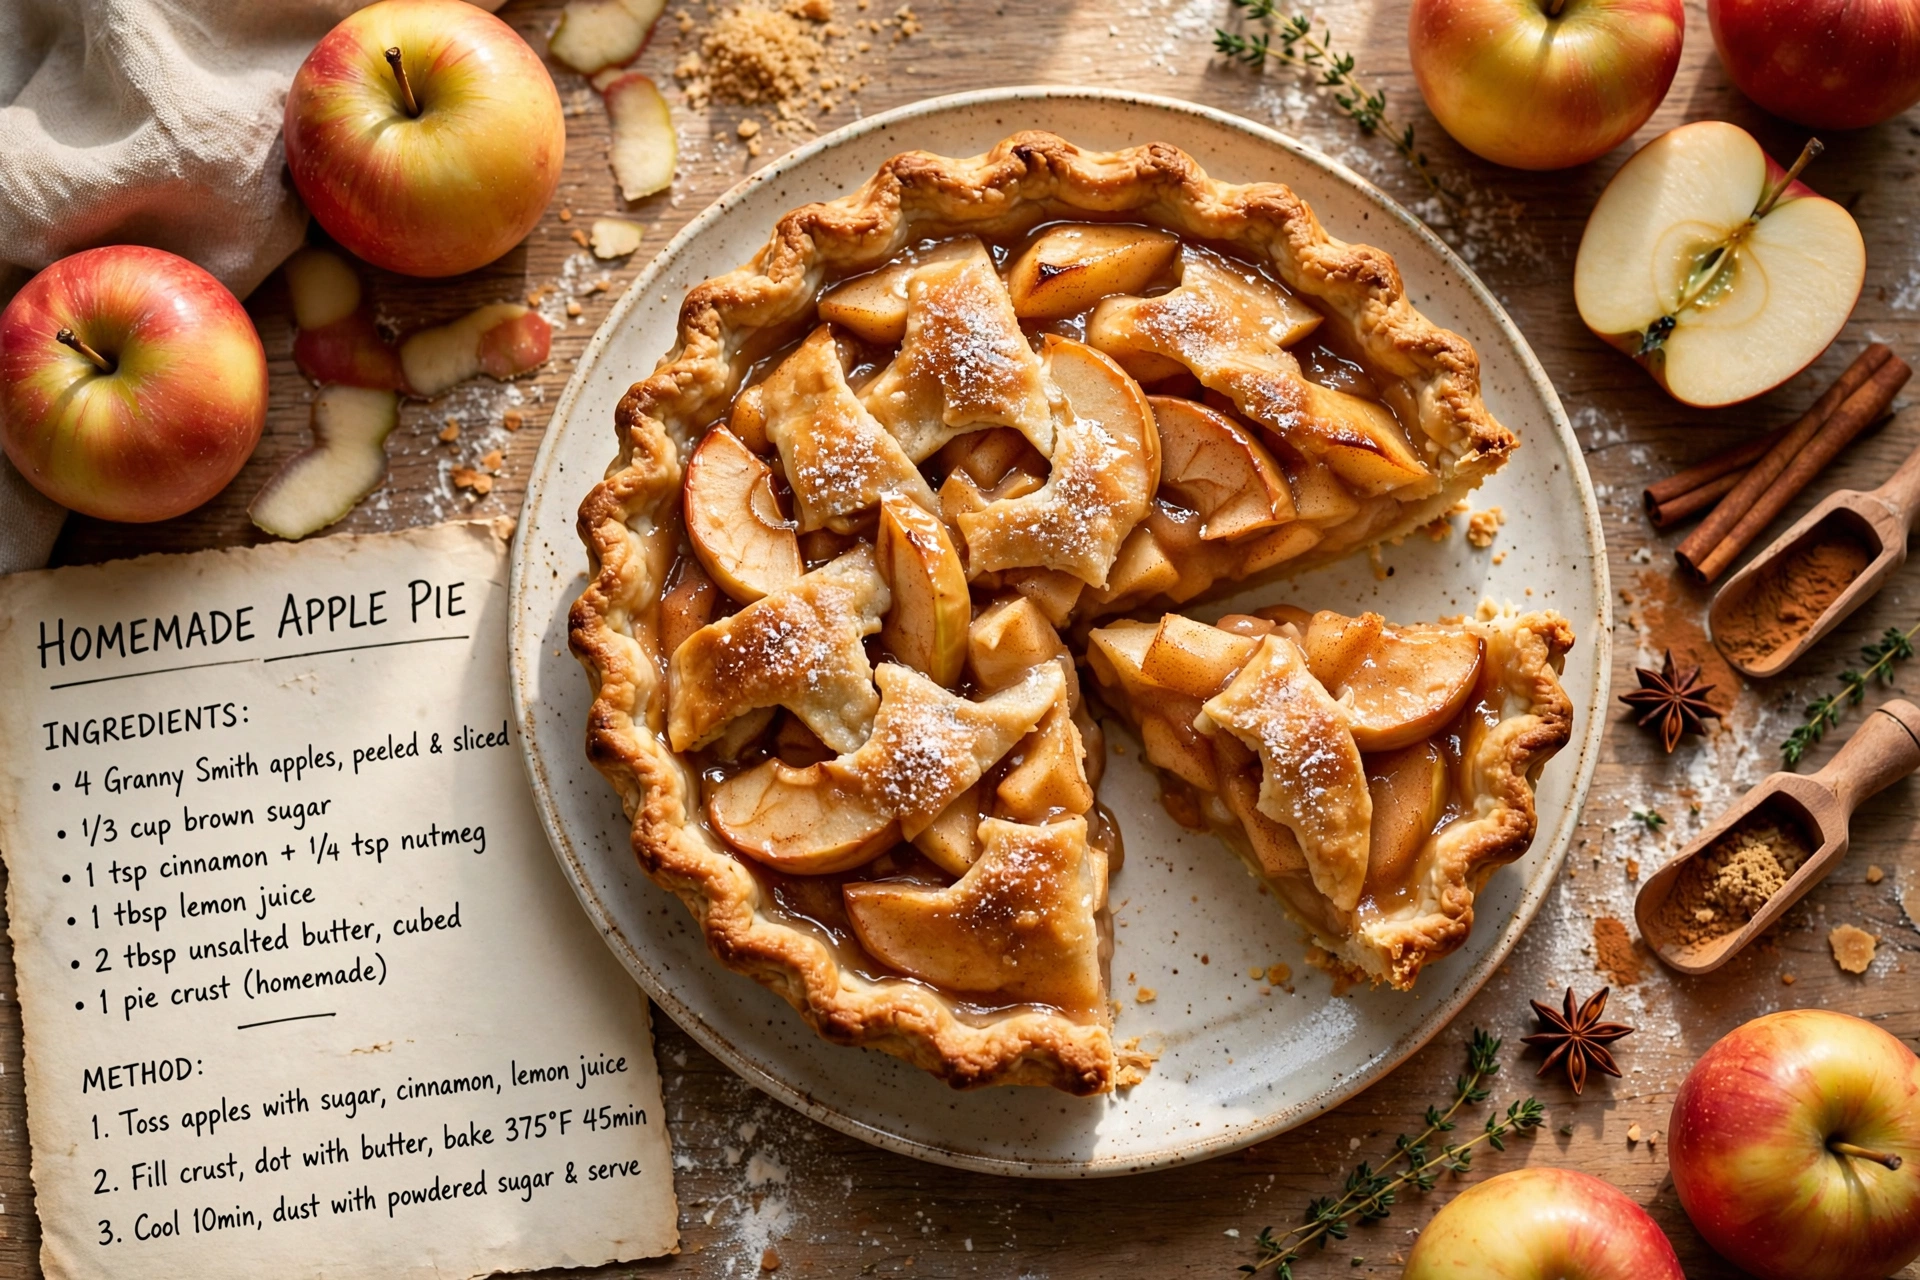
Homemade Apple Pie
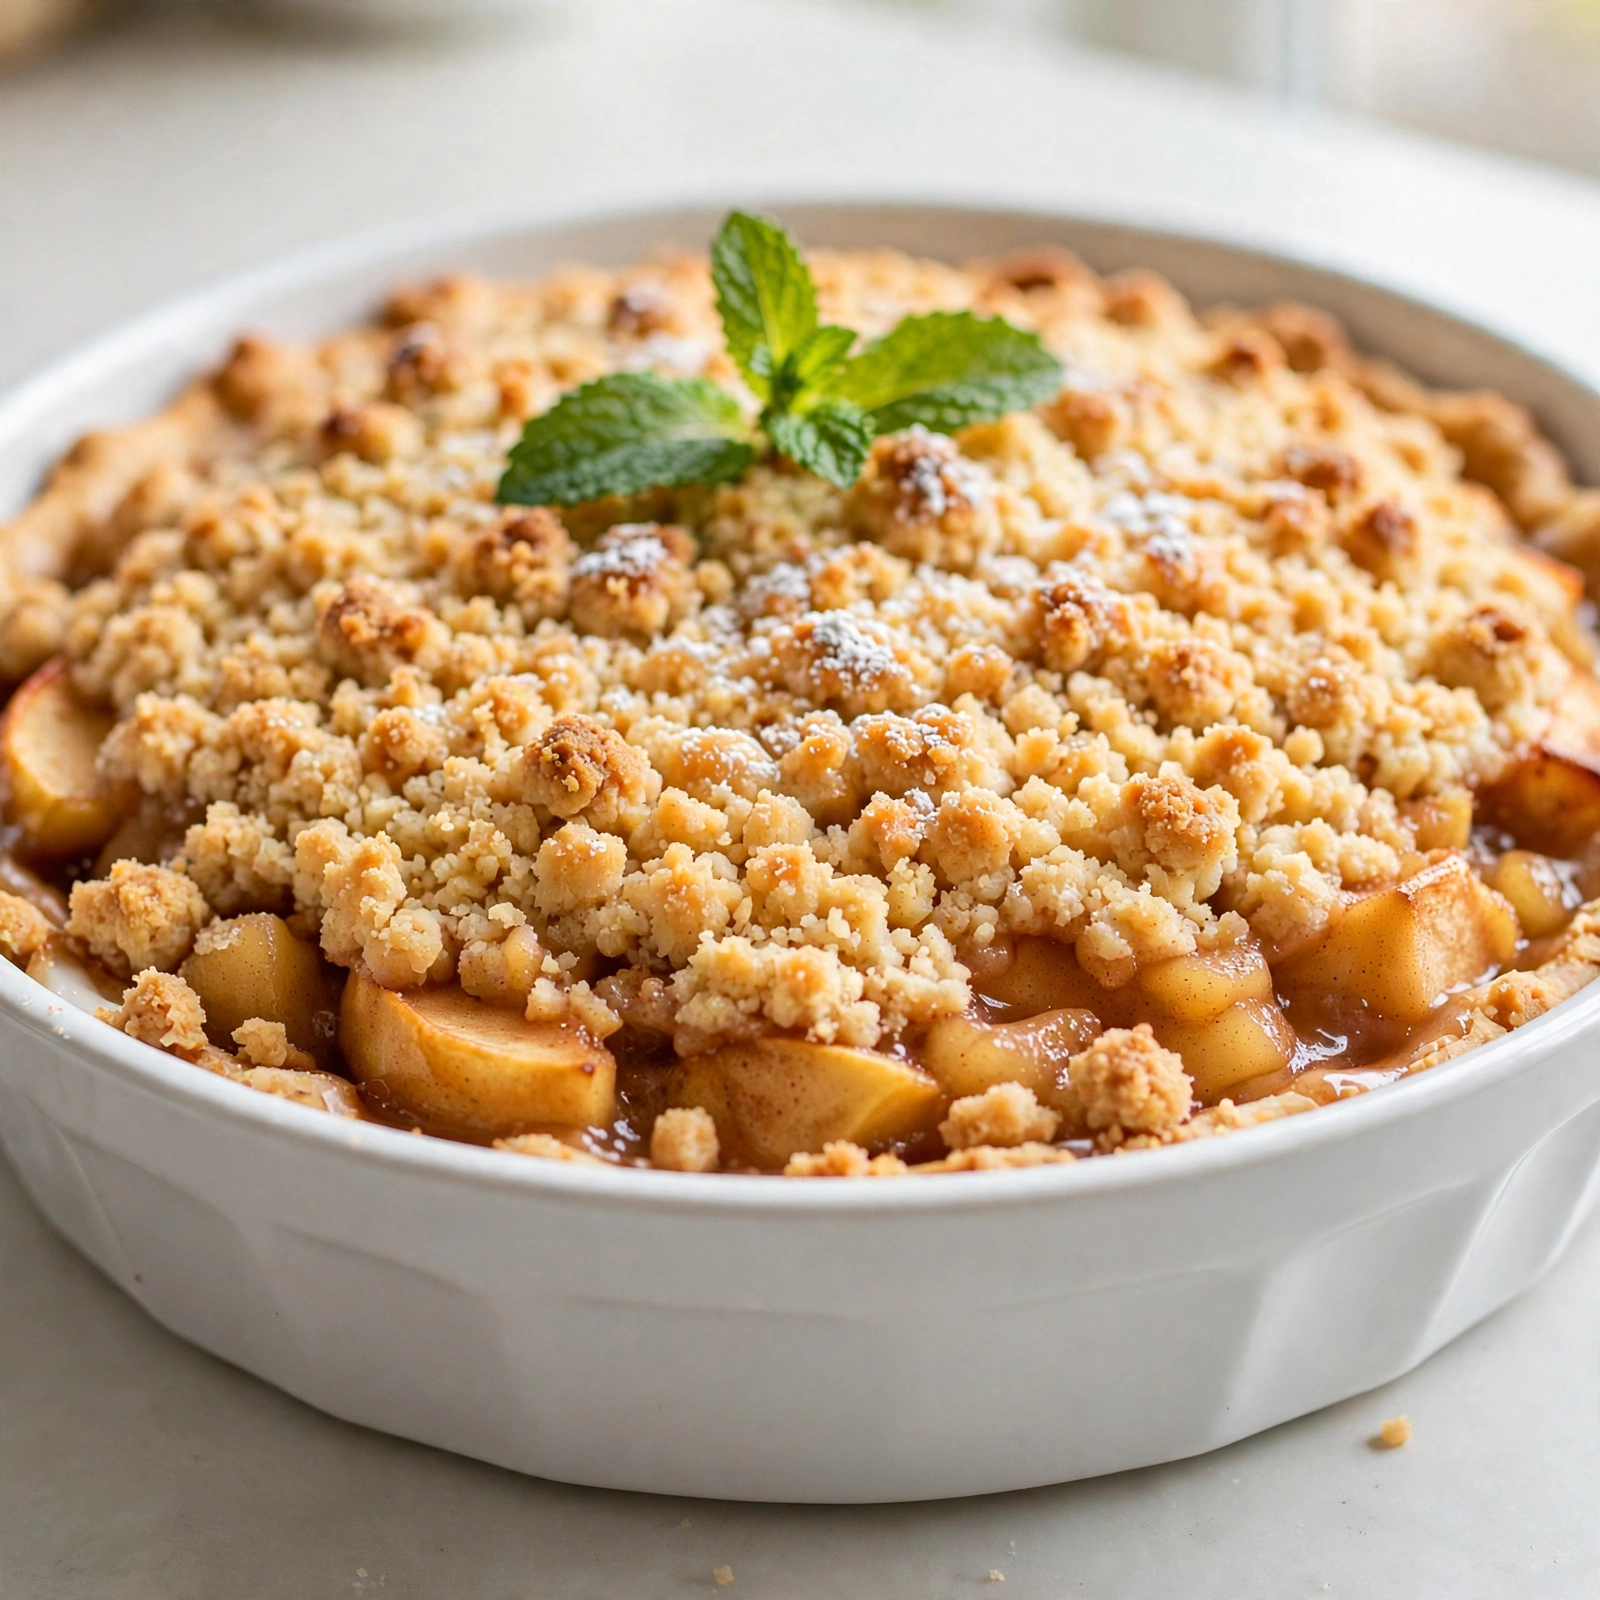
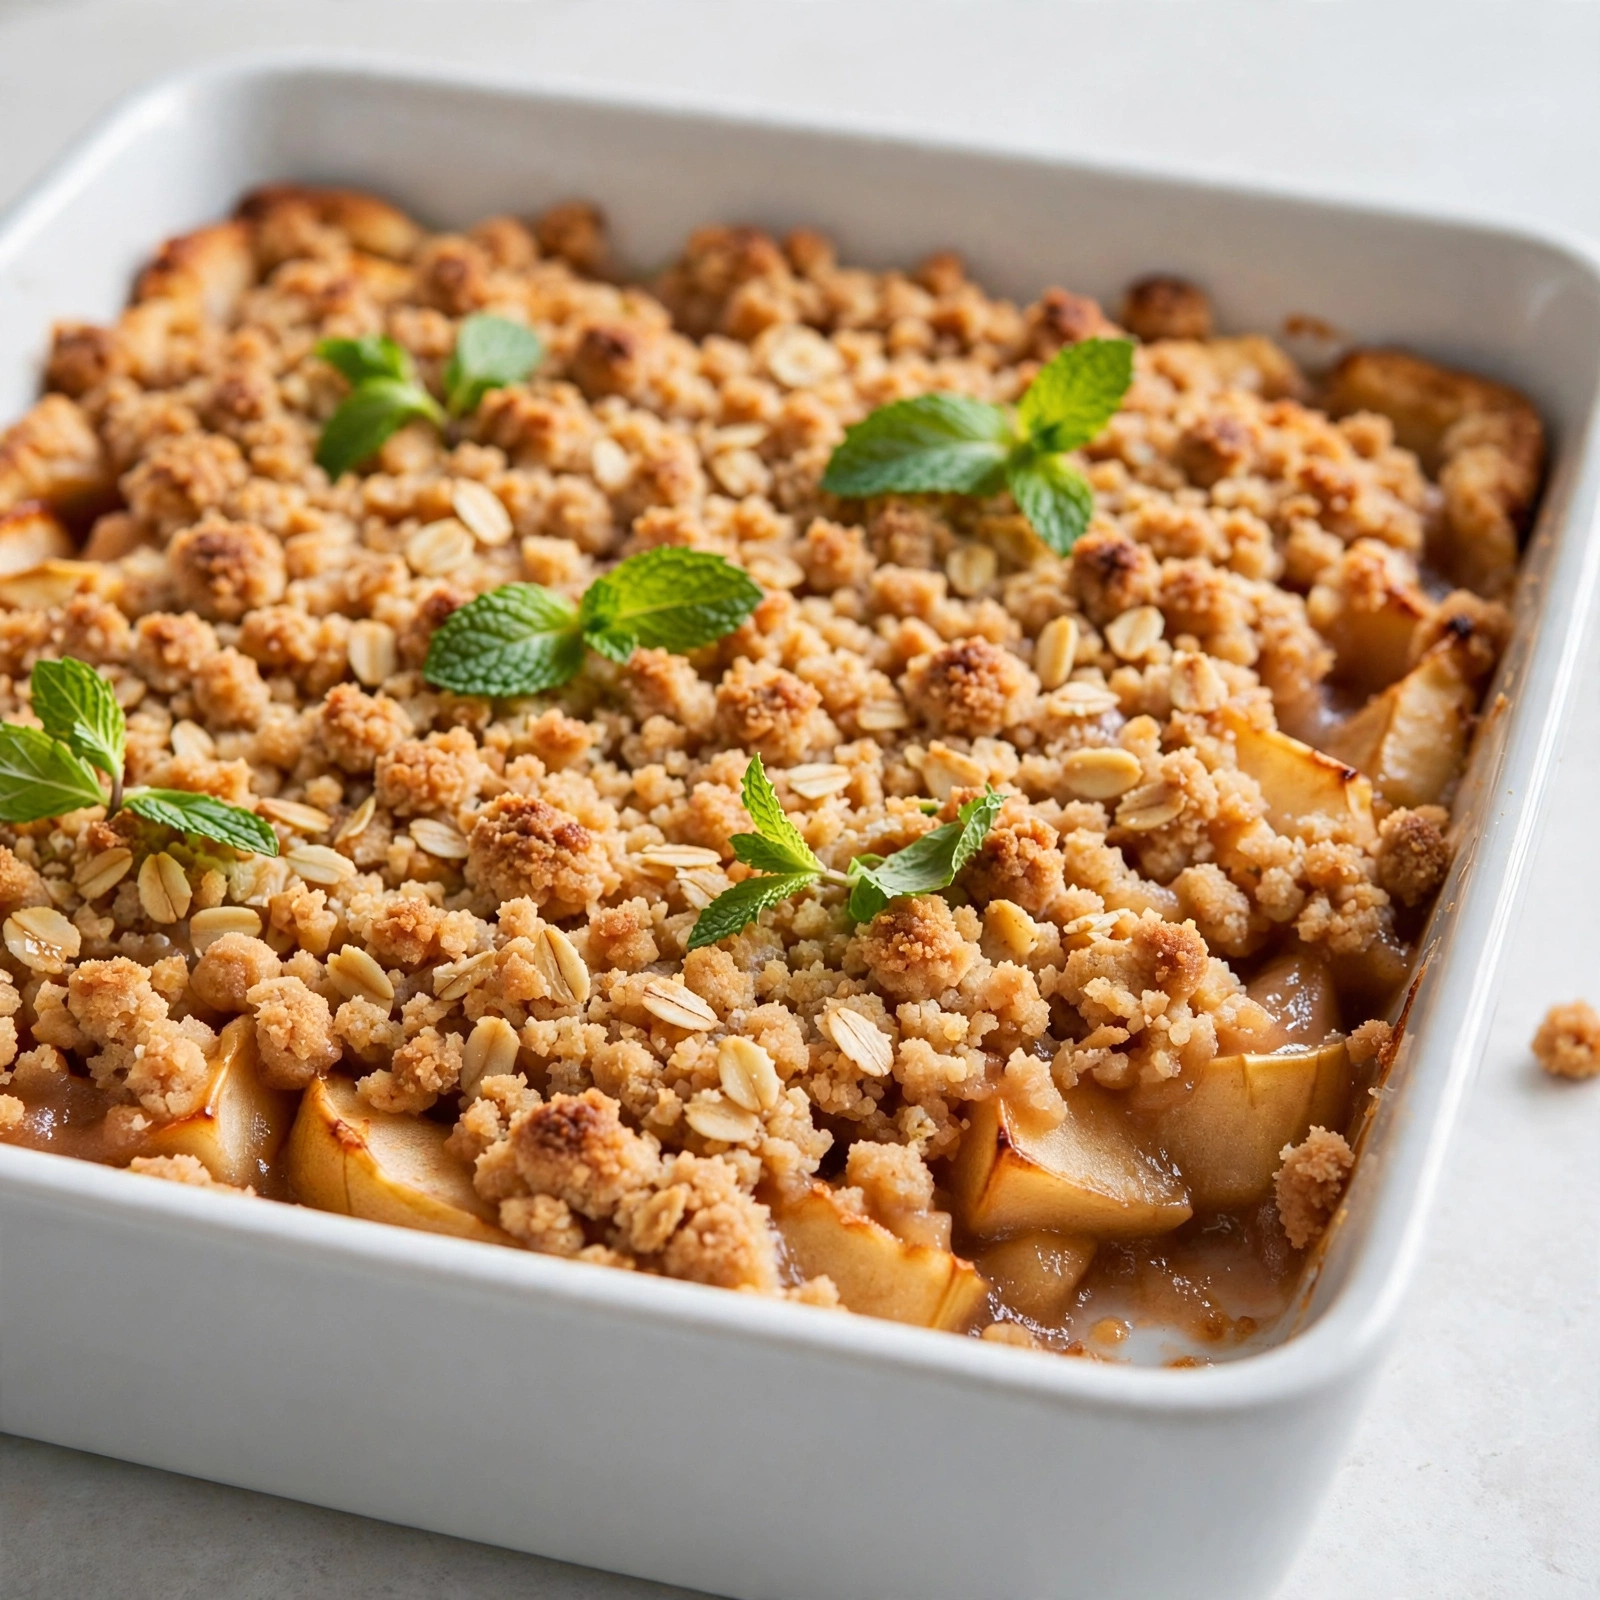
This homemade apple pie recipe features a buttery flaky crust and a warmly spiced, perfectly simple apple pie filling made from scratch with fresh apples.

The Only Apple Pie Recipe You'll Ever Need
There is something magical about the smell of a homemade apple pie baking in the oven. It fills the whole house with warm cinnamon and caramelized apple aromas that instantly feel like fall, even if you're baking it in the middle of July. This is a truly easy apple pie recipe built on a flaky, buttery crust and a rich, spiced apple pie filling made completely from scratch. If you've ever wondered how to make a apple pie that tastes like it came from your grandmother's kitchen, this is it.
What makes this recipe special is the balance. The apples stay tender but not mushy, the filling is thick enough to slice cleanly, and the crust shatters just slightly when your fork goes in. It's a perfectly simple apple pie, no fancy techniques required, just good ingredients and a little patience while the dough chills.
Before we get cooking, the right tools and ingredients make a real difference here. A sturdy pastry cutter helps you get that classic crumbly texture in the crust without overworking the butter, and a good ceramic pie dish distributes heat evenly so your bottom crust actually bakes through instead of turning soggy. These are the products that genuinely help this recipe shine:
Choosing the Best Apples for Pie
Not all apples behave the same way in the oven. For the best apple pie recipe filling homemade, you want a mix of tart and sweet varieties that hold their shape.
- Granny Smith: Tart, firm, and holds its shape beautifully
- Honeycrisp: Sweet and juicy with a nice bite
- Braeburn or Jonagold: Great secondary options if you want more variety
Using a blend rather than a single variety gives you the most balanced, layered flavor in your fresh apple pie recipe easy enough for a weeknight, but special enough for the holidays.
Chef's Tip: Slice your apples to a consistent thickness, about a quarter inch, so they cook evenly. Uneven slices mean some pieces turn mushy while others stay hard.
Getting That Flaky, Golden Crust
The secret to a good crust is temperature control. Cold butter, cold water, and a quick hand are everything. As soon as the butter melts into the flour before baking, you lose the little pockets of steam that create those flaky layers.
Work the dough just until it comes together. It should look a little shaggy, not smooth like bread dough. Chilling it afterward relaxes the gluten and firms the butter back up, which is what gives you that irresistible flake once it hits the oven.
Warning: Skipping the chilling step is the number one reason home bakers end up with a tough, dense crust instead of a flaky one.
Thickening the Filling Just Right
A soupy apple pie filling is one of the most common complaints home bakers have, and cornstarch is the fix. It thickens the natural juices released by the apples as they bake, so when you slice into the pie, the filling holds together instead of running all over the plate.
Letting the sugared apples rest for about 10 minutes before filling the crust also helps draw out some of that liquid, so the cornstarch has an easier job. This simple apple pie recipe trick makes a noticeable difference in the final texture.
Ready to make it? Here is the full step-by-step recipe:
Homemade Apple Pie
This homemade apple pie recipe features a buttery flaky crust and a warmly spiced, perfectly simple apple pie filling made from scratch with fresh apples.
Ingredients
- 2 1/2 cups all-purpose flour, plus more for rolling
- 1 cup unsalted butter, cold, cubed
- 1 tbsp granulated sugar, for the crust
- 1 tsp salt, divided
- 1/2 cup ice water, plus more as needed
- 7 apples, peeled, cored, and sliced; mix of Granny Smith and Honeycrisp
- 3/4 cup granulated sugar, for the filling
- 1/4 cup brown sugar, packed
- 1 1/2 tsp ground cinnamon
- 1/4 tsp ground nutmeg, freshly grated if possible
- 1 tbsp lemon juice, freshly squeezed
- 3 tbsp cornstarch, for thickening the filling
- 1 large egg, beaten, for egg wash
- 1 tbsp coarse sugar, optional, for sprinkling on top
Instruction
In a large bowl, whisk together the flour, sugar, and salt for the crust. Add the cold, cubed butter and cut it in with a pastry cutter or your fingers until the mixture resembles coarse crumbs with some pea-sized pieces of butter remaining.
Drizzle in the ice water, 1 tablespoon at a time, mixing gently until the dough just comes together. Divide the dough in half, shape into two discs, wrap in plastic, and refrigerate for at least 1 hour.
Preheat the oven to 425 degrees F (220 degrees C).
In a large bowl, toss the sliced apples with granulated sugar, brown sugar, cinnamon, nutmeg, lemon juice, and cornstarch until evenly coated. Let sit for 10 minutes.
On a lightly floured surface, roll out one dough disc into a 12 inch circle and fit it into a 9 inch pie dish. Trim the excess overhang to about 1 inch.
Pour the apple filling into the crust, mounding it slightly in the center. Dot with a little extra butter if desired.
Roll out the second dough disc and place it over the filling, or cut it into strips for a lattice top. Trim, fold, and crimp the edges to seal.
Brush the top crust with the beaten egg and sprinkle with coarse sugar. Cut a few small slits in the top to allow steam to escape.
Place the pie on a baking sheet to catch drips and bake at 425 degrees F for 20 minutes.
Reduce the oven temperature to 375 degrees F (190 degrees C) and continue baking for 30 to 35 minutes, until the crust is golden brown and the filling is bubbling.
If the edges brown too quickly, cover them loosely with foil or a pie shield.
Cool the pie on a wire rack for at least 2 to 3 hours before slicing to allow the filling to set.
Equipment
- 9 inch pie dish
- Pastry cutter
- Rolling pin
- Large mixing bowls
- Baking sheet
- Wire cooling rack
Notes
Serving and Storing Your Apple Pie
Let the pie cool for at least a couple of hours before slicing. I know it's tempting to cut in right away, but the filling needs time to set, otherwise it will spill out when you serve it.
- Serve slightly warm with a scoop of vanilla ice cream
- Drizzle with warm caramel sauce for an extra indulgent touch
- Pair with a hot cup of coffee or spiced chai for a cozy afternoon treat
For storage, keep the pie loosely covered at room temperature for up to two days, or refrigerate for up to five. Leftover slices reheat beautifully in the oven, just a few minutes at 300 degrees F brings back that fresh baked texture.
However you slice it, this homemade apple pie is the kind of dessert that turns an ordinary afternoon into something worth remembering.