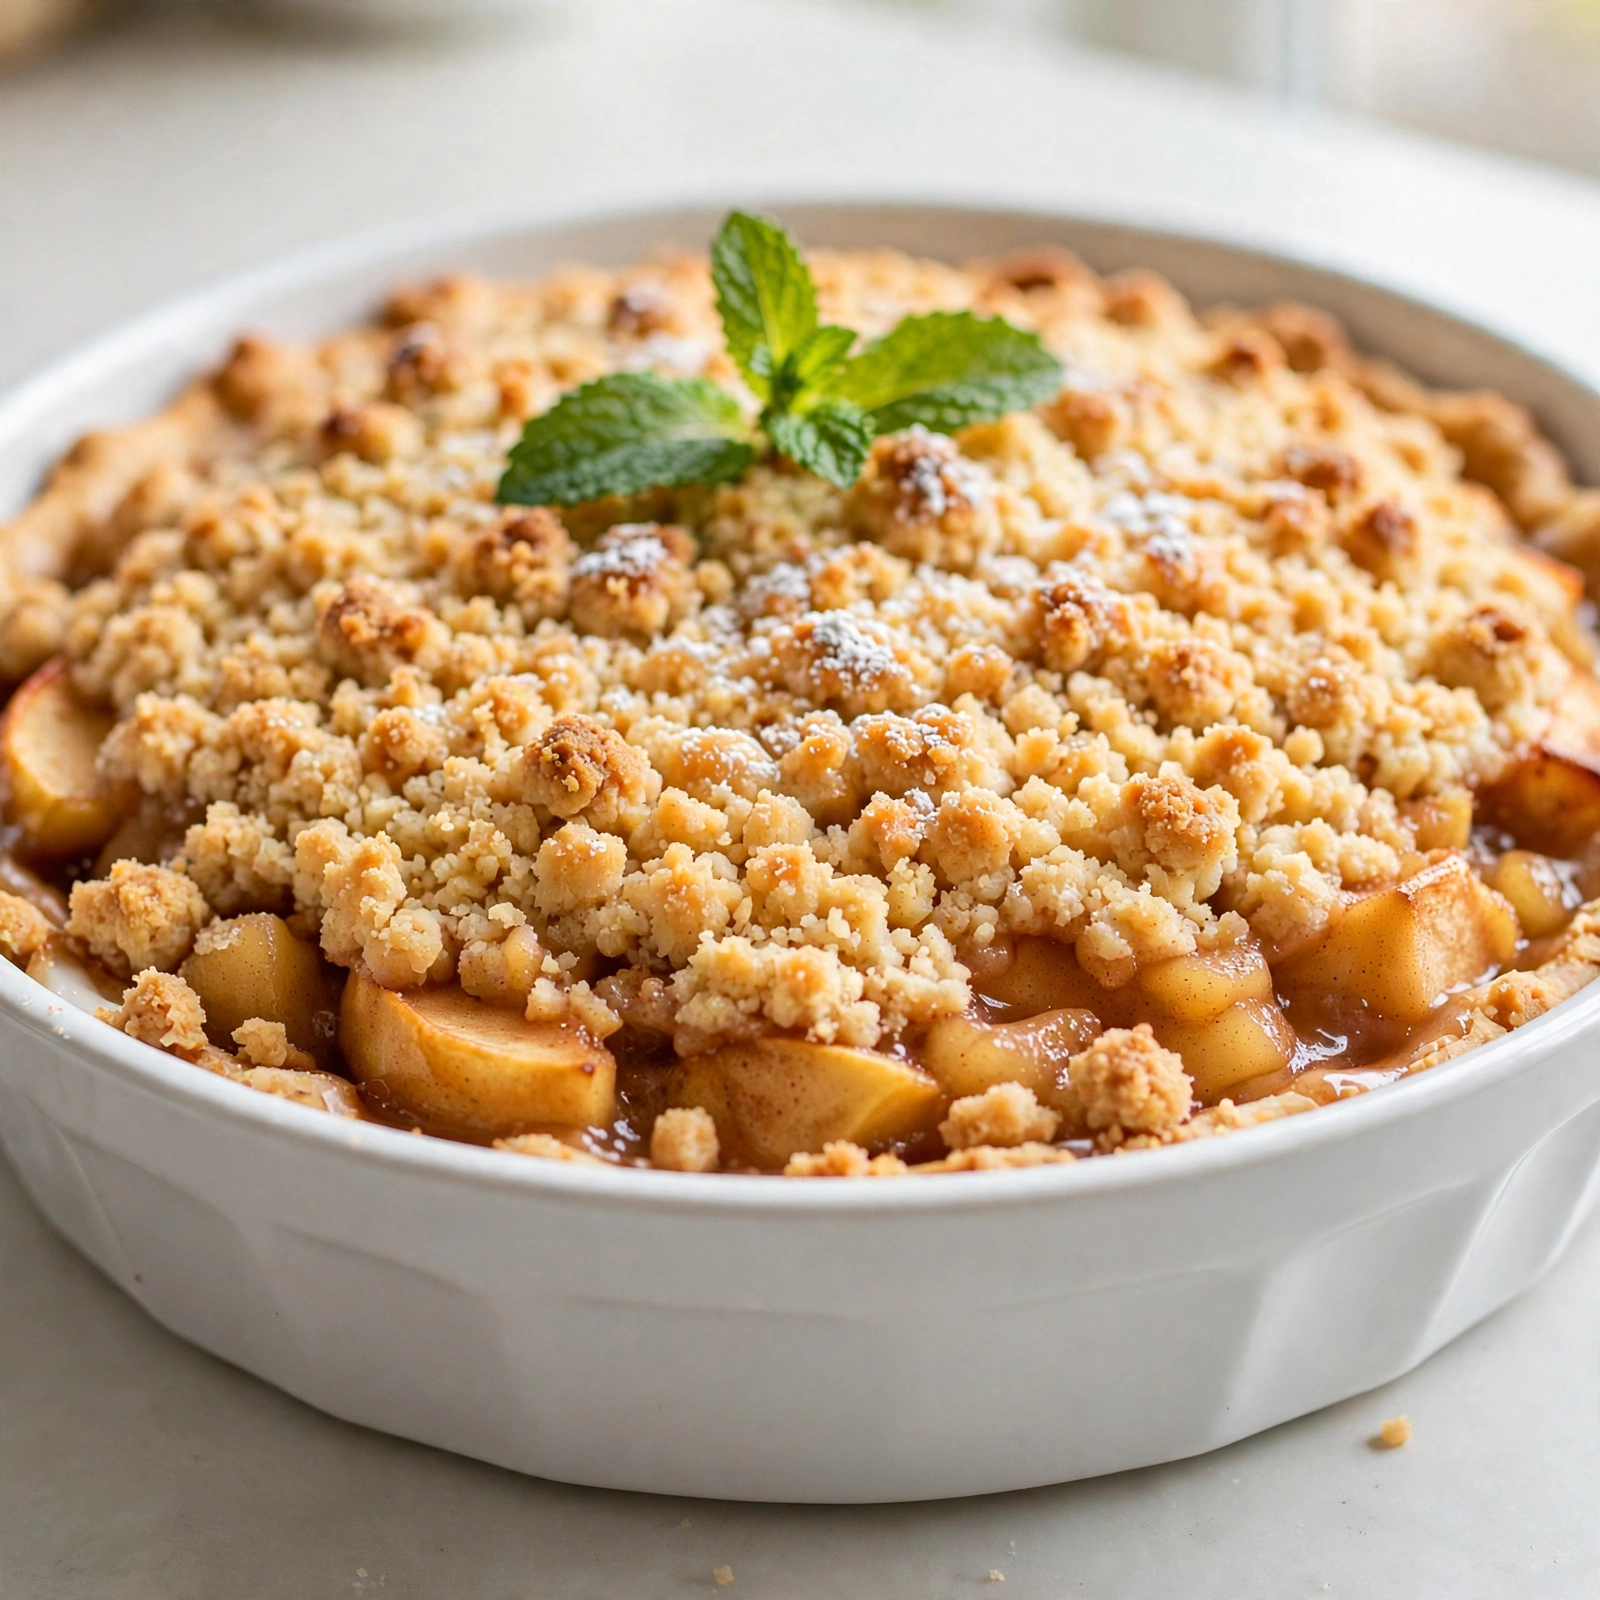
Best Dutch Apple Pie
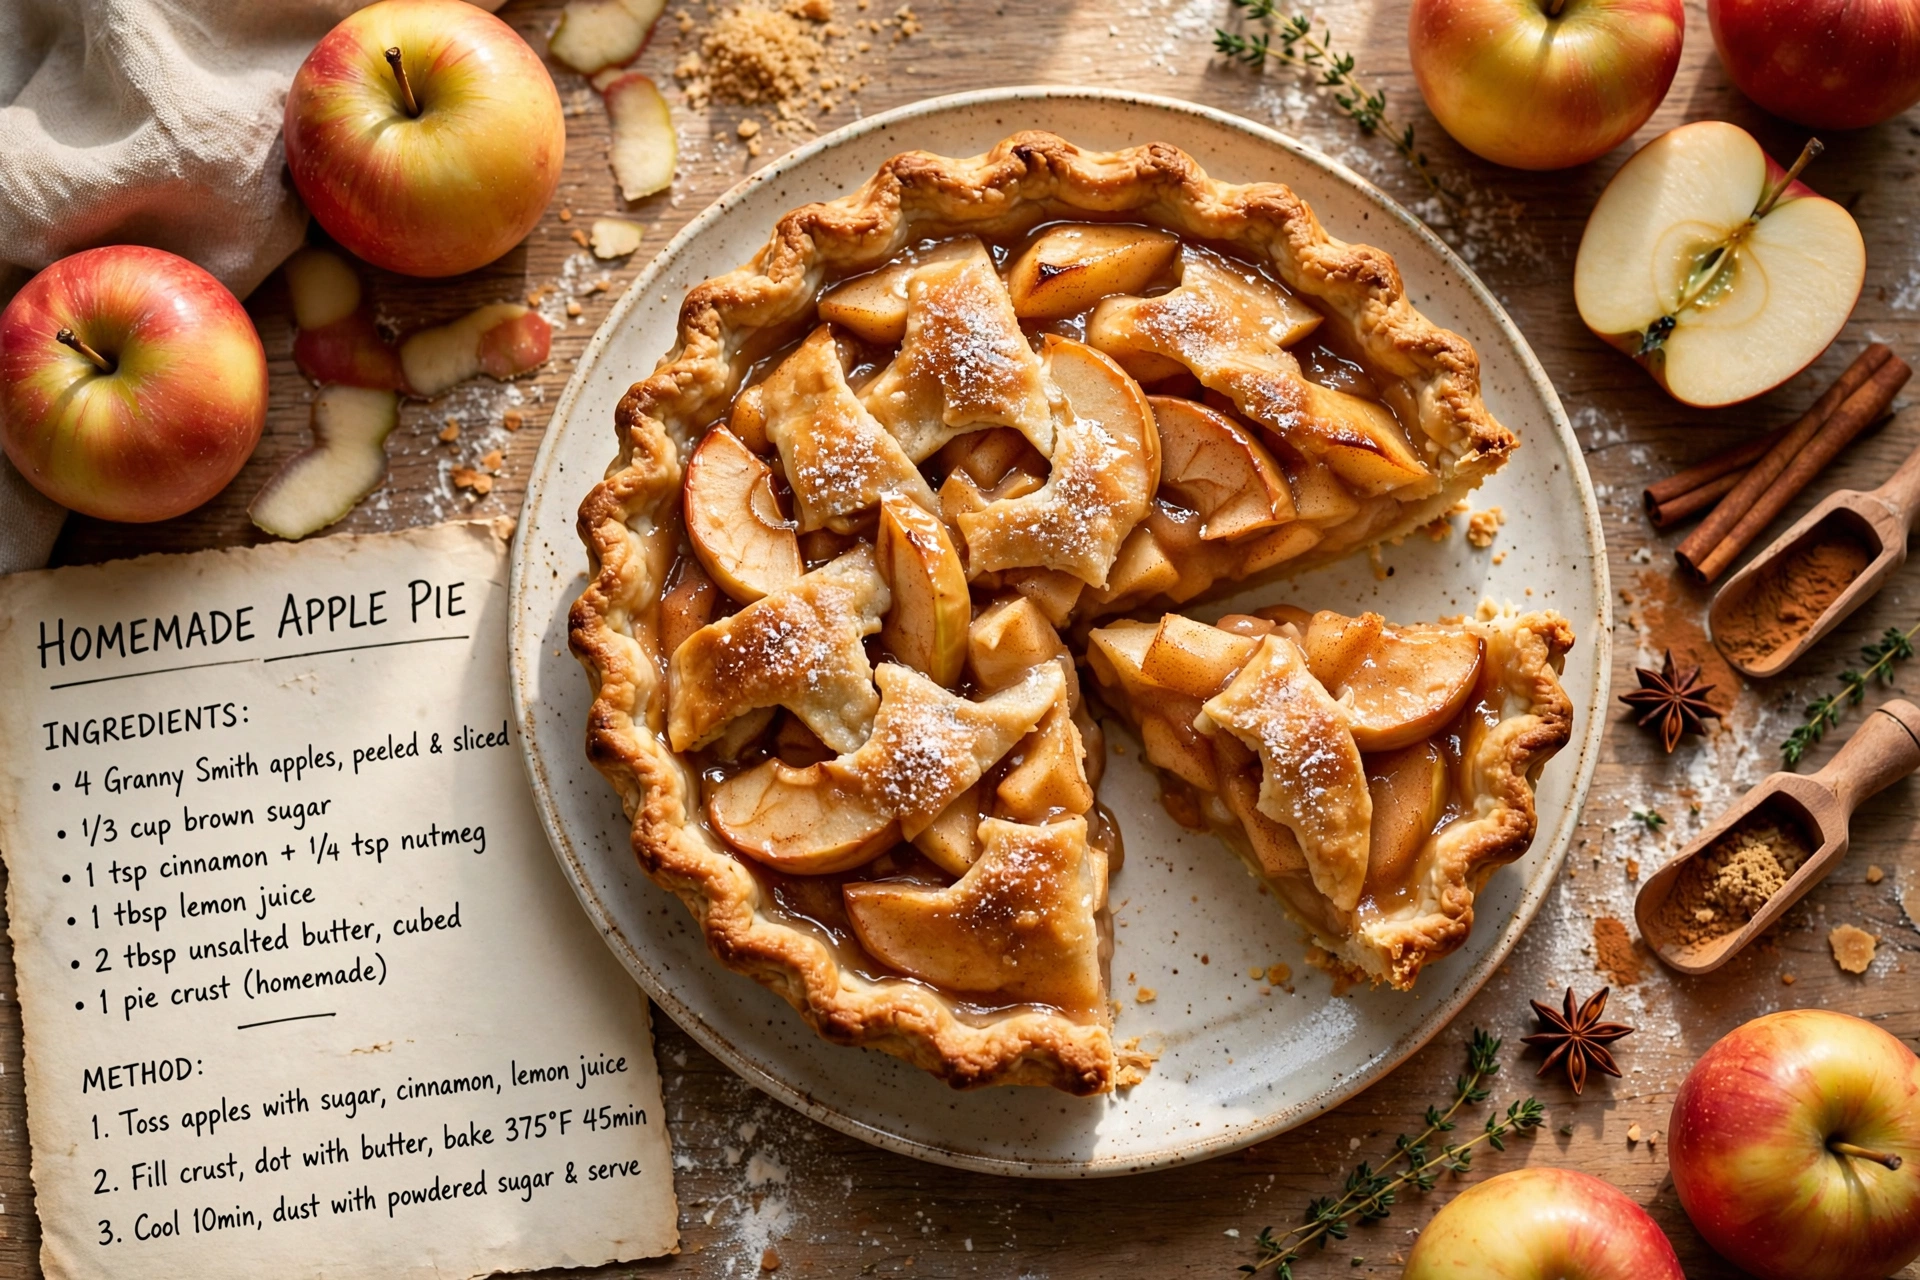
This old fashioned Dutch apple pie layers cinnamon spiced apples under a buttery crumb topping for the coziest slice of fall in every bite.

Why This Old Fashioned Dutch Apple Pie Wins Every Time
There is a reason Dutch apple pie shows up on so many holiday tables and Sunday dinner menus. It gives you everything a classic apple pie promises, tender cinnamon spiced apples in a flaky crust, but trades the top layer of pastry for a buttery, crumbly streusel that turns golden and slightly crisp in the oven. If you have ever wondered how to make Dutch apple pie that tastes like it came from a small bakery, this recipe walks you through it step by step.
What makes this the best Dutch apple pie in my recipe box is the balance. The apples stay juicy without turning to mush, the spices are warm but not overpowering, and the crumb topping has just enough butter to hold together in those irregular, craggy clumps everyone fights over.
Before we get cooking, the right tools and ingredients make a real difference here. A sturdy pie pan helps the crust bake evenly instead of slumping, and a good pastry cutter makes quick work of the crumb topping without overworking the butter. These are the products that genuinely help this recipe shine:
Choosing the Right Apples
Not all apples are created equal when it comes to pie. You want a variety that softens nicely but still holds its structure after nearly an hour in the oven.
Granny Smith apples are the classic choice for this Dutch apple pie recipe because their tartness plays so well against the sweet, buttery crumb on top. If you like a softer, sweeter bite, try blending in a few Honeycrisp or Braeburn apples.
Chef's Tip: Slice your apples to a consistent thickness, about a quarter inch, so they cook evenly. Uneven slices mean some pieces turn mushy while others stay crunchy.
The Secret to a Great Crumb Topping
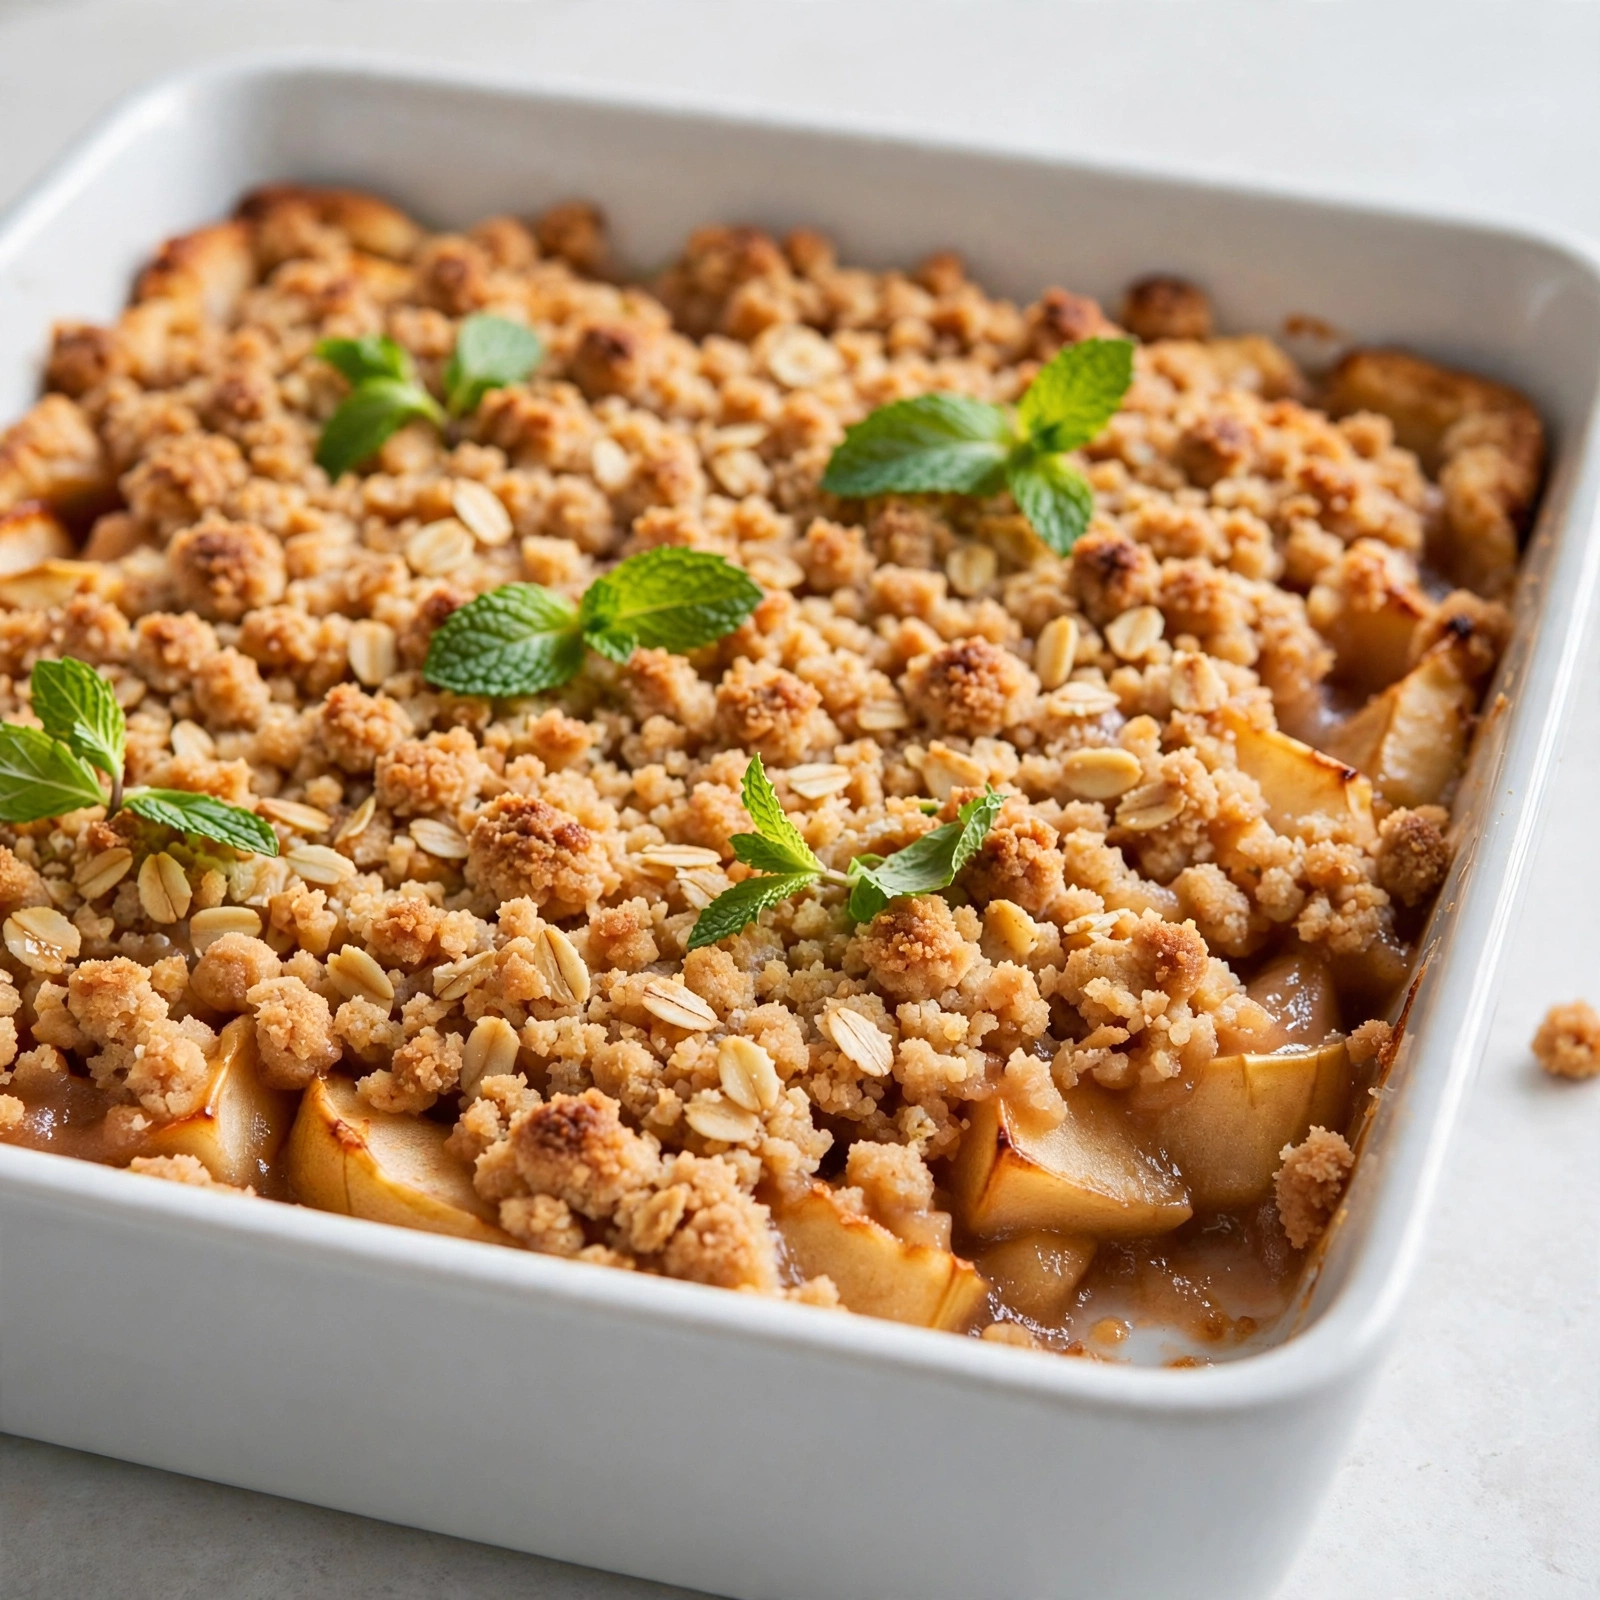
The crumb topping is really what sets Dutch apple pie apart from a traditional double crust pie, and it is easier to get right than you might think. The key is temperature. Keep your butter cold, straight from the fridge, and cut it into the flour and brown sugar mixture just until you get coarse, pea sized crumbs.
Do not overwork it. If the butter gets too warm and the mixture starts looking more like dough than crumbs, pop the bowl in the freezer for 10 minutes before continuing. This little pause makes a big difference in getting that classic craggy, golden texture on top.
Assembling and Baking
Once your apples are tossed with sugar, flour, spices, and a splash of lemon juice, and your crumb topping is ready, assembly comes together quickly. Mound the apples generously in the crust since they will shrink as they release moisture during baking, then cover everything evenly with the crumb topping.
Baking low and slow at 375 degrees F gives the apples time to soften fully while the topping turns a deep golden brown. A rimmed baking sheet underneath the pie pan is a small step that saves you from scrubbing bubbled over juices off your oven floor later.
Ready to make it? Here is the full step-by-step recipe:
Best Dutch Apple Pie
This old fashioned Dutch apple pie layers cinnamon spiced apples under a buttery crumb topping for the coziest slice of fall in every bite.
Ingredients
- 1 pie crust, homemade or store bought, unbaked, fitted into a 9 inch pie pan
- 6 cups Granny Smith apples, peeled, cored, and thinly sliced (about 6 large apples)
- 3/8 cup granulated sugar, for the apple filling
- 2 tbsp all-purpose flour, for the apple filling, to thicken juices
- 1 tsp ground cinnamon, plus a pinch more for the topping if desired
- 1/4 tsp ground nutmeg, freshly grated preferred
- 1 tbsp lemon juice, freshly squeezed, to keep apples bright and balance sweetness
- 1/4 tsp salt, fine sea salt
- 1 cup all-purpose flour, for the crumb topping
- 1/2 cup brown sugar, packed, for the crumb topping
- 1/2 cup unsalted butter, cold, cubed, for the crumb topping
- 1/2 tsp ground cinnamon, for the crumb topping
Instruction
Preheat the oven to 375 degrees F (190 degrees C). Fit the pie crust into a 9 inch pie pan, crimp the edges, and place it in the refrigerator to chill while you prep the filling.
In a large bowl, toss the sliced apples with granulated sugar, 2 tablespoons flour, cinnamon, nutmeg, lemon juice, and salt until every slice is evenly coated.
Pour the apple mixture into the chilled pie crust, mounding it slightly in the center since the apples will shrink as they bake.
In a separate bowl, whisk together the 1 cup flour, brown sugar, and cinnamon for the topping. Add the cold cubed butter and use your fingers or a pastry cutter to work it in until the mixture forms coarse, pea sized crumbs.
Sprinkle the crumb topping evenly over the apples, covering the entire surface.
Place the pie on a rimmed baking sheet to catch any drips, then bake for 50 to 60 minutes, until the topping is deep golden brown and the filling is bubbling around the edges.
If the topping browns too quickly, loosely tent the pie with foil for the last 15 to 20 minutes of baking.
Remove the pie from the oven and let it cool on a wire rack for at least 2 hours before slicing. This resting time allows the filling to set properly.
Equipment
- 9 inch pie pan
- Large mixing bowl
- Pastry cutter or fork
- Rimmed baking sheet
- Wire cooling rack
Notes
Serving and Storing Your Dutch Apple Pie
Let the pie cool for at least two hours before slicing. I know that is hard when your kitchen smells like cinnamon and warm butter, but this rest lets the filling set so your slices hold together instead of sliding apart.
Serve slices slightly warm with a scoop of vanilla ice cream or a dollop of freshly whipped cream. For storage, keep the pie loosely covered at room temperature for up to two days, or refrigerate for up to five days.
A few easy variations to try:
- Add a handful of chopped pecans or walnuts to the crumb topping for extra crunch
- Swap a tablespoon of the granulated sugar in the filling for maple syrup for a deeper flavor
- Add a thin layer of caramel sauce over the apples before adding the crumb topping for a caramel apple twist
Chef's Tip: If you are making this ahead for a holiday, bake it the morning of and let it cool completely, then warm individual slices gently before serving so the topping stays crisp.
However you serve it, this Dutch apple pie recipe delivers that nostalgic, old fashioned flavor everyone at the table will be asking for again.